| Reversal Masks |
Some sensors are designed for almost perfect symmetry with respect to the mid-plane of the wafer. For example, in
bulk micromachining
of the inertial sensor one has to deal with such symmetry.
One begins with double sided polished wafers parallel within 2 microns in thickness. Identical processing
requirements on both sides require that one has to do identical photolithography on both sides. The top and
bottom mask plates have to be mirror image of each other. This requirement is easily fulfilled in masks made
with chrome and iron oxide coatings, as one can easily make the mirror image with contact printing from an
original. Only requirement is that the photoresist on the mask blank brought in contact has to be a positive photoresist.
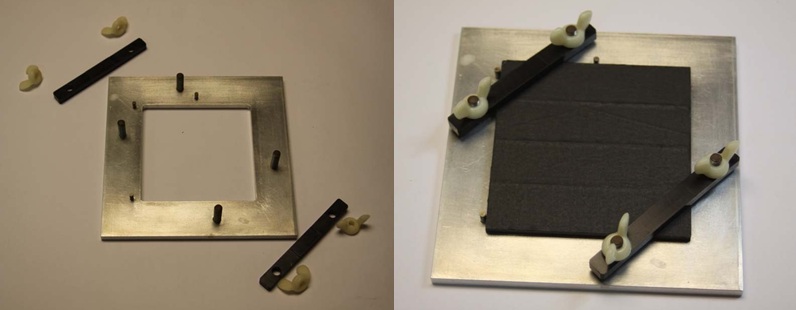
A contact printing fixture is shown below:
This requirement becomes a problem with emulsion coated masks, because the contact printing yields a negative
print of the original, i.e. the opaque and clear regions in the contact print are reversed from the original one.
In such a case, a reversal printing process is employed to get the mirror image mask plate.
The Reversal Mask processing steps and average timings are as follows:
- The original mask plate is made as described under the Emulsion coated masks;
- A new emulsion coated plate is placed in contact with the original;
- Opaque glass plate is placed at the bottom
- New emulsion plate is placed on top of the above plate with emulsion side facing up
- Next, the original mask is placed with emulsion side facing down
- A clear glass plate is placed on top
- Incandescent light source with lens at 8 to 10 inches from the plate stack is used for contact exposure (duration 2 minutes)
- The exposed mask plate is pre-soaked in DI water for 1 minute;
- Development in D-8 developer bath at 18°C for 8 minutes (agitate for 5 secs after every 30 secs);
- Stop development by rinsing in running DI water for 2 minutes;
- Bleach the developed areas in B-2 bath for 2 minutes (agitate for 5 secs after every 60 secs);
- Rinse in DI water for 30 secs;
- Place the mask plate in C-2 Clearing Bath for 3 minutes;
- Rinse in DI water for 4 minutes;
- Pre-soak in Development Bath D-5 at 18 C for 30 secs;
- The plate is placed in DI water and fully exposed by an incandescent light source with lens at 10 inches
from the plate for 5 minutes (with regular lighting on);
- Re-develop in Development Bath D-5 at 18°C for 5 minutes;
- To stop development rinse in DI water for 30 secs;
- Place the plate in a Fixing bath with F-4 at 18°C for 2 to 4 minutes (agitate for 5 secs after every 30 secs);
- Rinsing and cleaning in DI water for 10 minutes;
- Blow dry the mask.
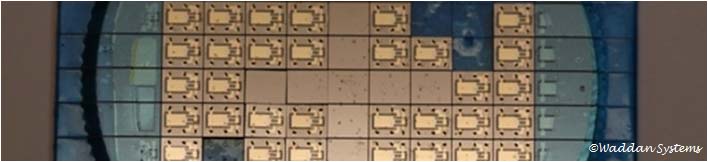
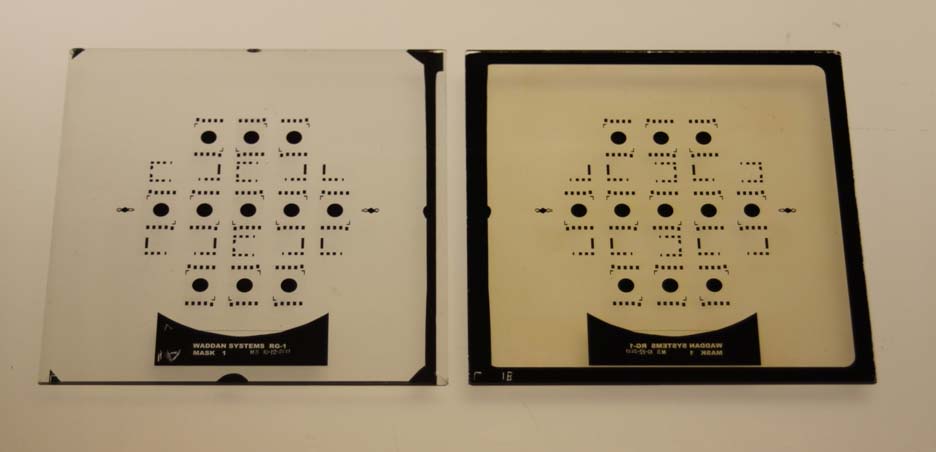
An emulsion coated mirror mask made using the reversal process is shown below:
Return to MASK MAKING PAGE