| Iron Oxide Masks |
The Iron Oxide Masks are as hardy as the Chrome Masks,
so they are also used for production applications. However, in applications where multiple
alignments are required and several different successive masks are necessary, the photoresist on the wafers often
gets scratched and damaged with both chrome and emulsion coated masks, because one can not perform any visual rough
alignment; and a great deal of handling time is spent in arriving close to the alignment marks.
For these applications, the iron oxide masks are the best, as they provide durability, and visibility through
opaque regions for rough visual alignment prior to using the aligner microscope or camera.
The iron oxide mask processing steps are same as those listed for chrome masks.
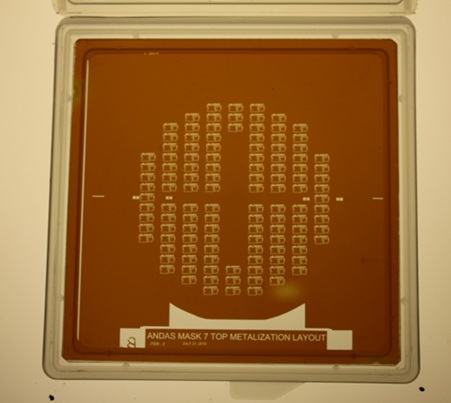
The only difference is in the etching chemicals used for etching iron oxide film through the developed regions.
- Mask Blank is exposed in the camera for 45 to 90 seconds depending upon the artwork details;
- Development in proper developer bath at 18 C for 45 seconds;
- Stop development by rinsing in cascade rinser with DI water for 5 minutes, and blow dry the plate;
- Hardbake the photoresist at 120 C oven for 5 minutes;
- Etch the iron oxide regions exposed after development in a bath with 22% HCl, 18% Ferrous Chloride, and
60% DI water at 18 C for 60 seconds (gently agitate 3 times only);
- Rinsing and cleaning in cascade rinser with DI water for 5 minutes, and blow dry the plate;
- Strip the photoresist by immersion in PR stripping bath (agitate for 5 secs after every 30 secs);
- Rinsing and cleaning in cascade rinser with DI water for 5 minutes or more, and then blow dry the plate;
- Inspect and dimensionally verify the mask features under a microscope.
Return to MASK MAKING PAGE
