


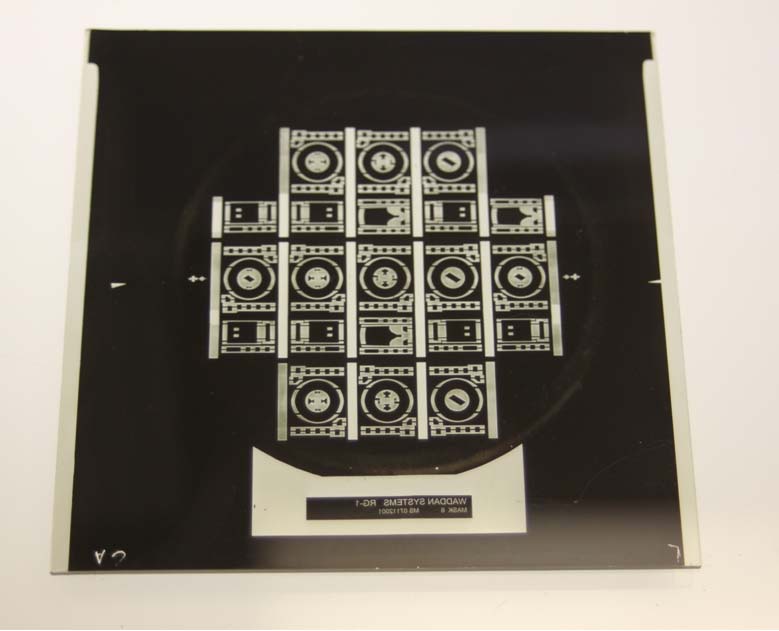
Photographic emulsion coated masks are generally employed for experimental work, where rapid turn-around is necessary as they are easy to produce. There are two types of emulsion coated masks in general use--film masks and glass masks. Both have a coated emulsion mainly composed of gelatin and silver halide as photosensitive material. In the film masks the emulsion is coated on a clear polyester sheet, and in the glass masks the emulsion is coated on a glass plate (soda lime, quartz or Pyrex). As the emulsion coating can be easily scratched by the hard baked photoresist on wafer (placed in contact with mask during photolithography); the emulsion masks are not suitable for production runs or extended use. The processing of emulsion masks employs the same steps as those used in common photographic film--exposure, development and fixing. The resulting mask has clear and black opaque regions. The clear areas allow UV light to pass through to expose the photoresist coated areas of the wafer in contact.
Our large format camera can handle 4"x5" film sheets. If the mask features are supposed to have dark regions with sharp boundaries, an Ortholith black and white film is used. If it has to have very small and accurate features, a fine grain film is used. The Ortholith film can be easily handled in safelite conditions. But, the handing of the fine grain film is a little involved. It requires total darkness. So in the darkroom, one has to feel the location of the notches along the edges of the film to know the face of the film with emulsion coating.
The film mask processing steps and average timings are as follows:
For the first masking layer or for one time photolithography, the emulsion face of the film mask and photoresist side of the wafer can be placed in contact between two thick glass plates for UV light exposure (bottom glass plate with a dark dull face pointing up, wafer with photoresist covered face pointing up, film mask with emulsion face pointing down, and clear top glass plate on top of the film). If film masks are to be used with alignment to previously made patterns on the wafer, a mask aligner with a modified mask holder is used. Generally, the mask aligners mask holders are designed to hold a glass mask in place by vacuum. So in the modified mask holders, a clear glass plate is fitted in the opening for the UV light, which acts as flat backing on which the film mask is held in place by vacuum. To prevent scratches on the film mask, it has to be handled with extra care.
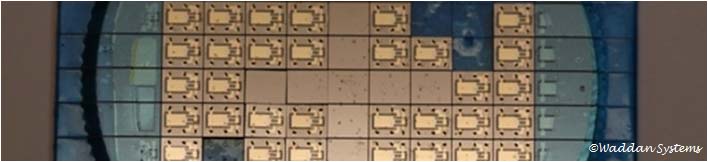
The emulsion coating on these mask blanks is placed more or less the same way as that on the photographic polyester film. The processing steps for making them, exposure, development and fixing are also the same. However, due to the hard glass backing as the base material, these masks yield better imaging and alignment accuracy.
The Glass mask direct processing steps and average timings are as follows:
